|
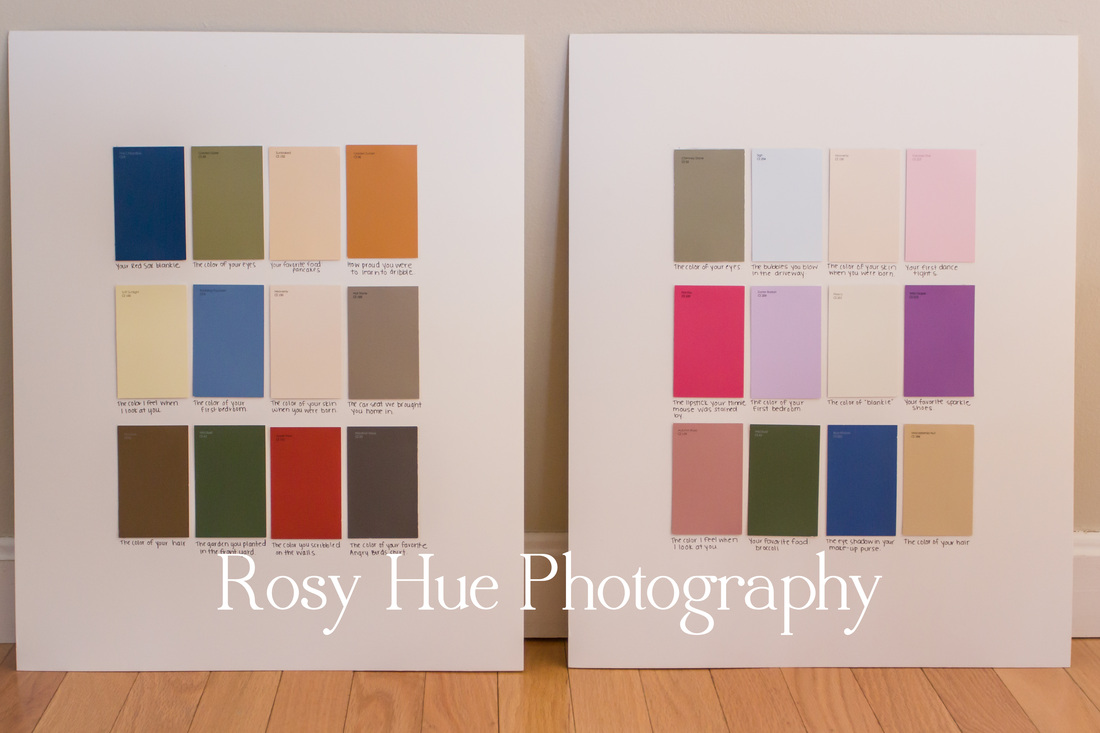
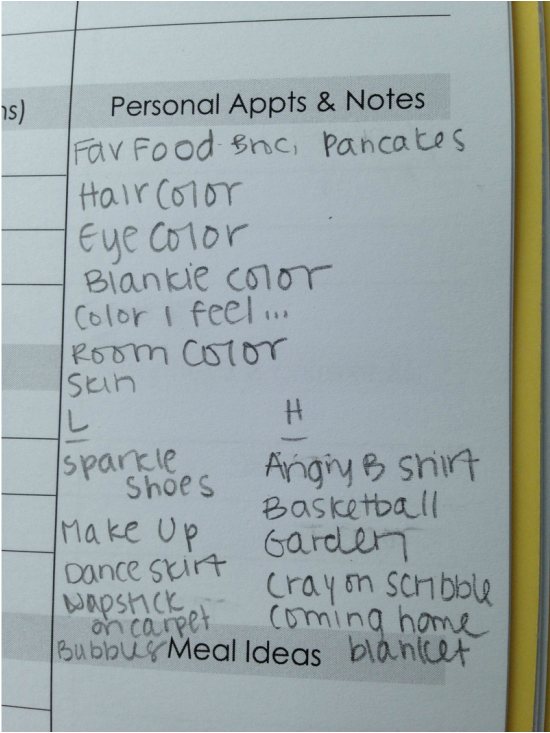
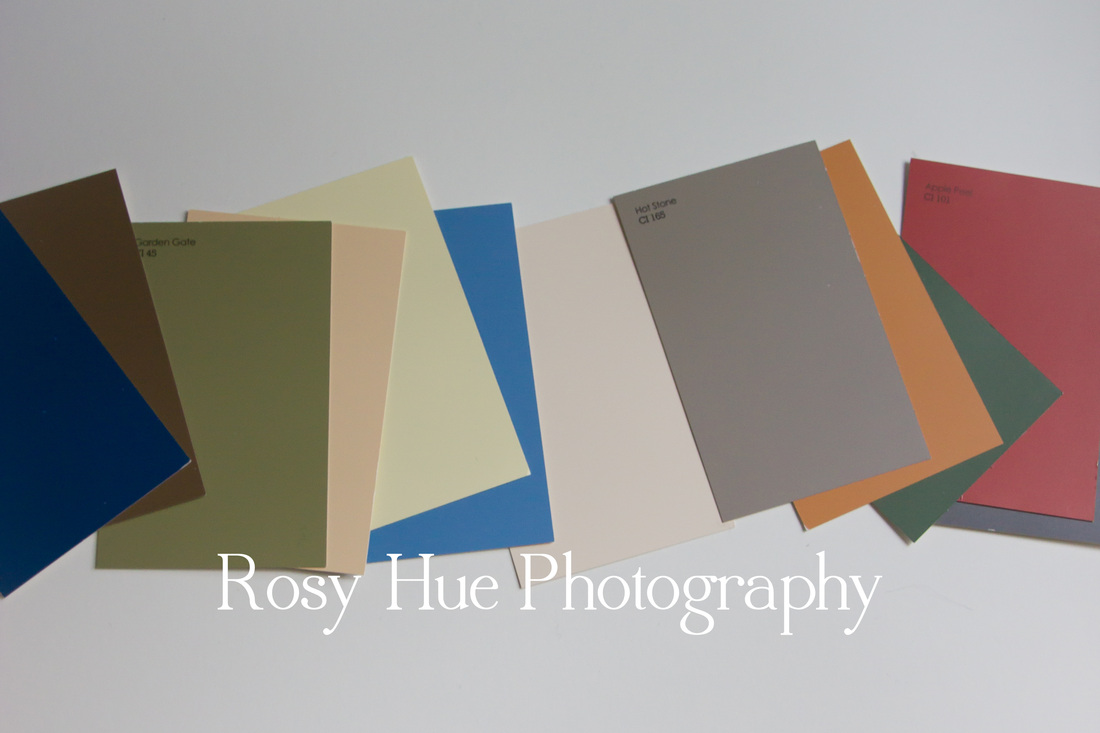
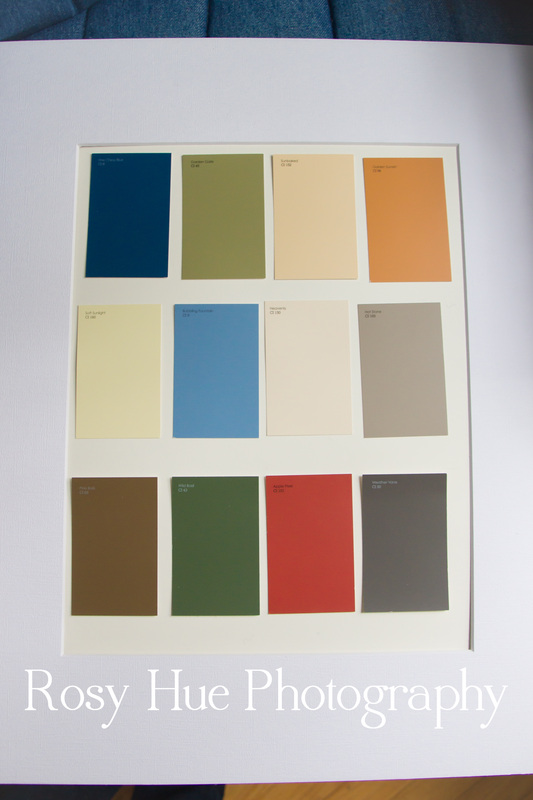
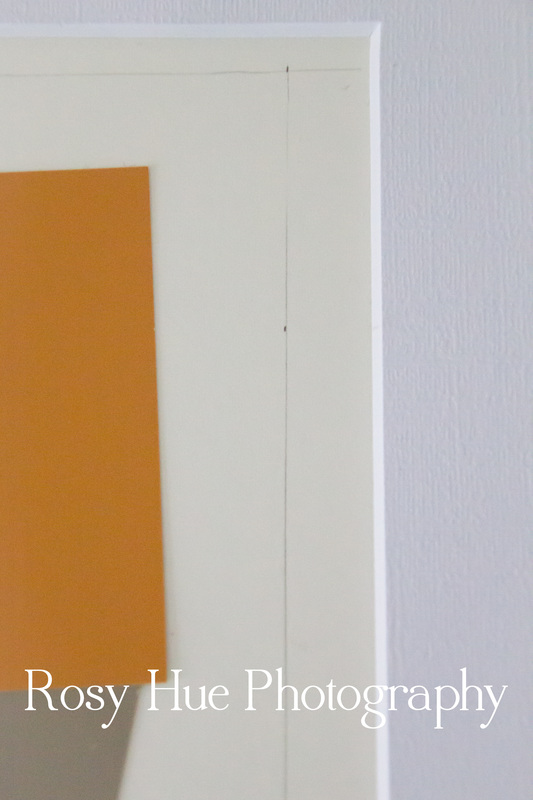
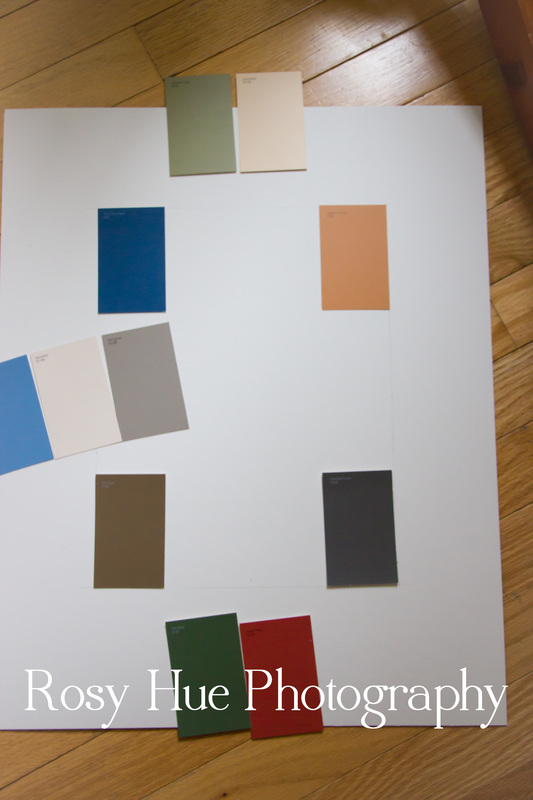
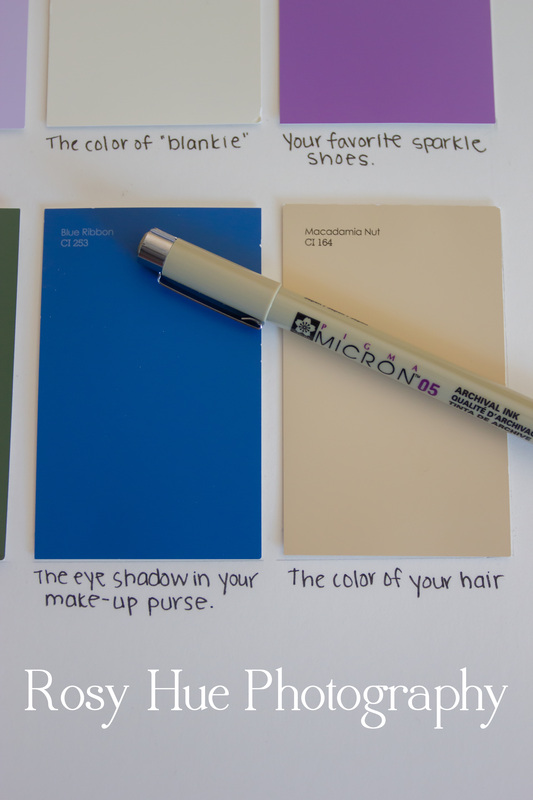
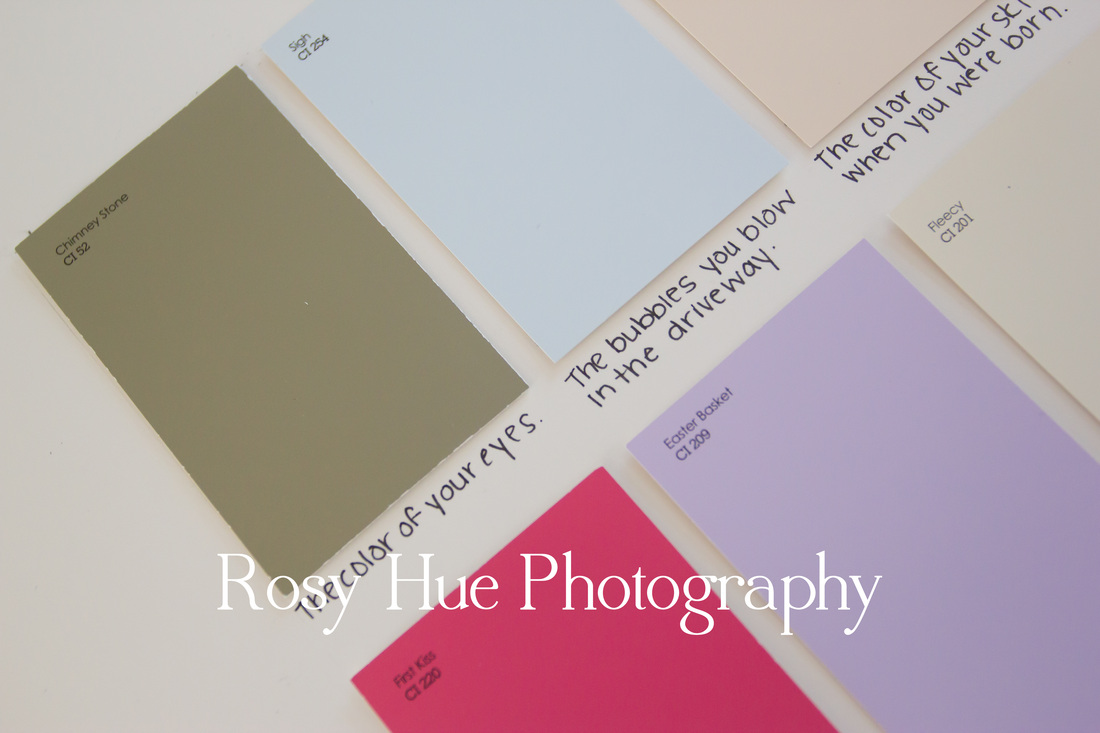
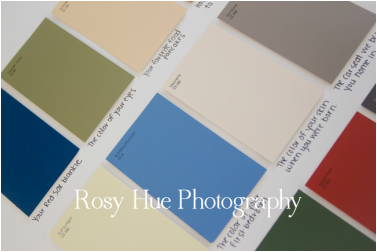
I've been in the very slow process of updating the kids' playroom and have been looking for some items to add to a future gallery wall of artwork and photographs. I saw a mini version of a similar project on pinterest, and loved the idea of creating something that was personal, quick and cheap for each of the kids. Below are the almost-finished products of the color stories I made for the kids (Hou's is on the left, Leah's is on the right). Ultimately these will be matted and framed and hung in the play room, but these could easily be hung as-is. I loved how these compilations just "felt" like each of the kids' personalities: Hou quiet and deep; Leah sweet and sensitive. Here are directions to make your own color story project! Materials: -Mat board, poster board or other thick, white card stock paper: I knew I wanted mine to be large, so I purchase these 16x20 sheets of mat board from Michaels for $4.99 each. -12 paint chips: This number could increase or decrease depending on the size of the art desired. You can also cut the paint chips to be smaller if you want to create a smaller finished product. -Pencil (optional) -Ruler (optional) -Black pen or marker for captions Directions: 1. Make a brainstorm of the 12(ish) categories you wish to include in your color story. I knew I was creating two of these, so I ended up coming up with 24 total. Think about the colors in the life of the person you are creating your art for. There were some mutual categories I wanted for both of the kids (the color of their eyes, the color of their favorite foods, etc), but then there were some that were unique to each child: Leah's favorite sparkly shoes, the color of Houston's first bedroom, etc. I snapped a picture of my list and brought it with me to the hardware store to look for paint. This was so helpful to keep me focused, and also sped up the process so I didn't feel like such a creep swiping paint samples. 2. Head to your favorite local hardware store to grab your paint samples. Like I said, I was going for 24. I had grand plans of traveling the city to various locations for fear of being "caught" but ended up at Lowe's where really… no one cares. It helped having my list because I could browse and grab quickly. I also liked the convenience having so many colors to choose from. What I feared being stressful was actually one of my favorite parts of the project. I couldn't help smiling to myself remembering all of these vivid moments from my kids' lives. 3. When you get home, spread the colors out and arrange them in different "spreads" until you find the story that looks the best. If you have a good idea of which color goes with which category (or the colors are different enough), you won't have to worry about remembering their caption later. However, if you have some colors that are close, you may want to label them on your organizer before you start mixing them up too much! Once you've found your final arrangement, plug in that glue gun! 4. Optional: while your glue gun is warming up, you may decide that you want to align your color samples a bit more accurately. I made some quick guidelines with my ruler, but wasn't going for perfection here (I wanted the kids to know that I made these after all). But since I was making two of them to hang somewhat close to each other, I didn't want them to be completely free-handed (read: "utterly crooked"). 5. Get to gluing! I started with the four corners and sort of eye-balled it from there. 6. Once your paint samples are glued on, it's time to get writing. I was a little nervous about this step, but ended up just diving in. Heck, I was almost done and I couldn't wait to see the end result. I used a fine tip pen (size .45mm line) for writing. One more tip: don't drink "dark magic" coffee before attempting.
0 Comments
Leave a Reply. |
AuthorDanielle Smith Archives
July 2017
Categories
All
The most important thing is to enjoy your life - to be happy - it's all that matters. ~Audrey Hepburn |
 RSS Feed
