|
0 Comments
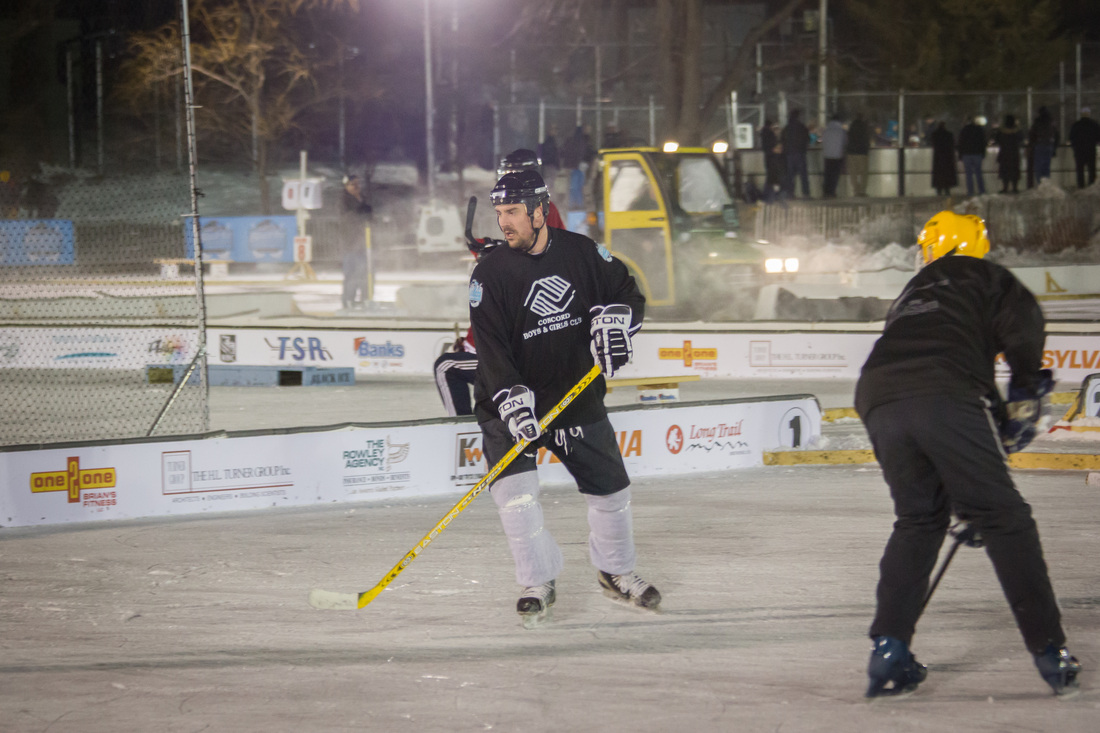
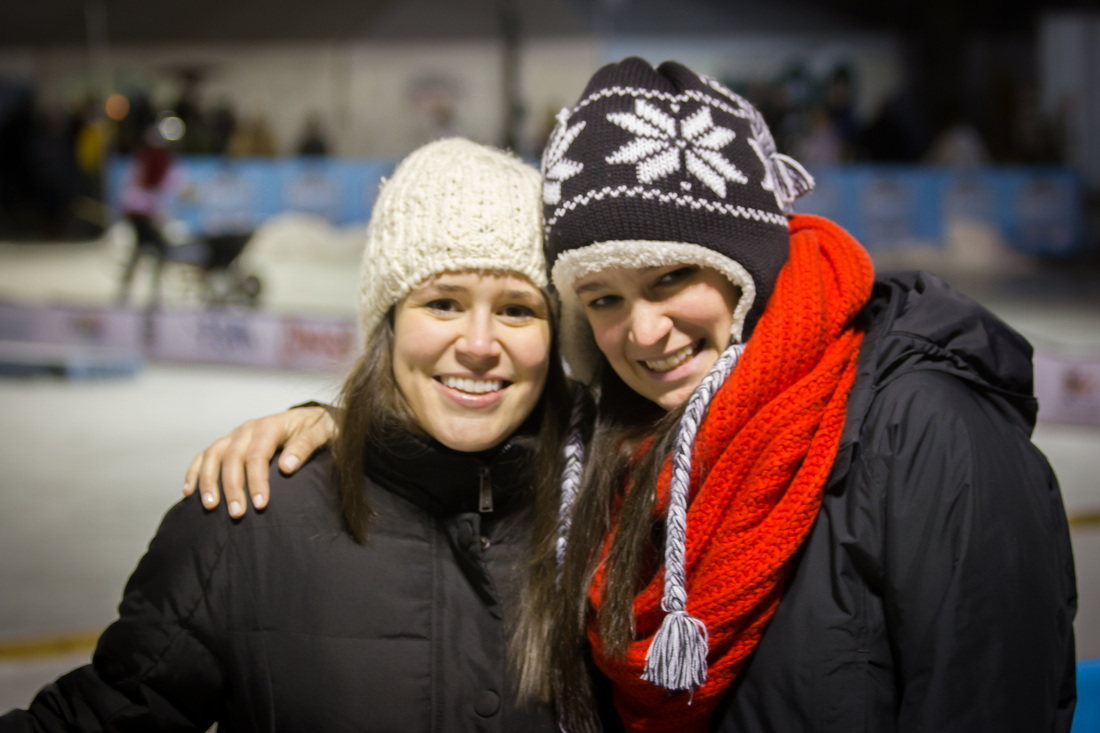
We had a blast this past weekend at the annual Black Ice Pond Hockey Tournament in Concord, NH. Justin has played annually for the Concord Boys and Girls Club's team, and it is such a fun family event. This year, Justin's games were later than usual, so the kids opted to stay with Meemaw and Papa while I bundled up to watch. It was fun to be able to photograph Justin (the second-least photographed member of this family after you-know-who) without having to worry that the littles would get hit in the face by a rogue puck - and if you know me, you know that my anxious soul is on high alert for things like that. The team may not have faired too well in the rankings, but it sure looked like they were having fun. I present to you… Mr. RHP in his element and my sweet sissies, who also braved the cold.
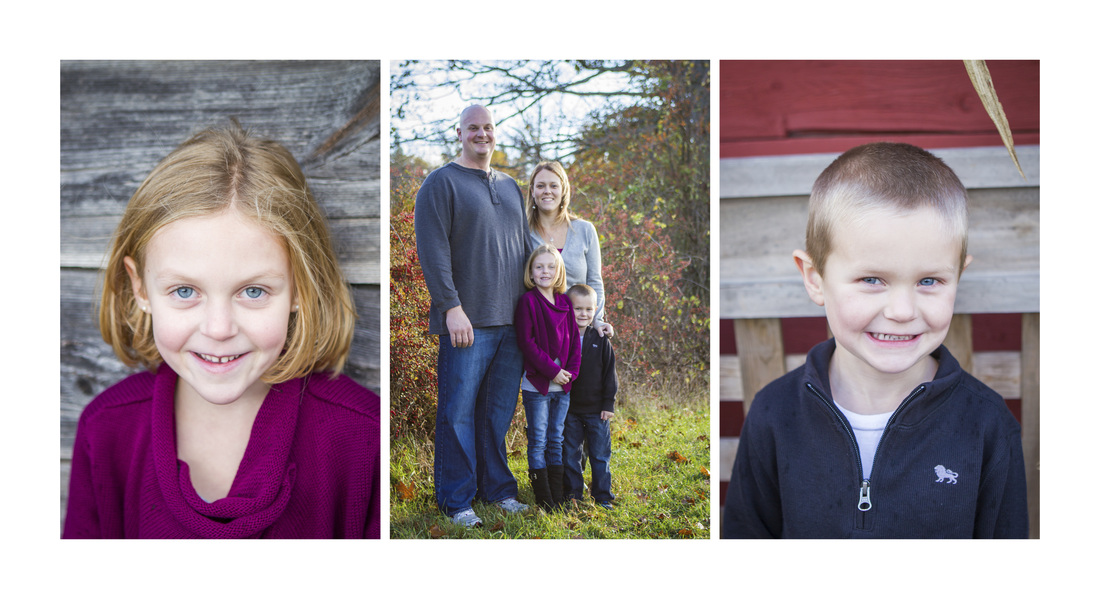
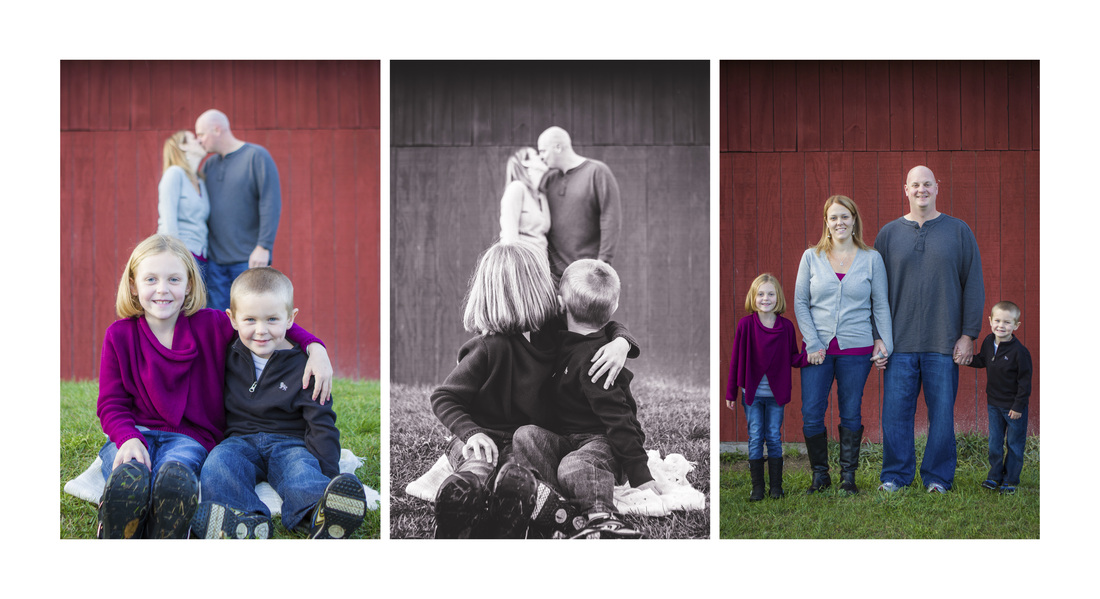
This fall I had so much fun shooting this gorgeous family at one of my favorite New Hampshire locations: Beech Hill Farm. Beech Hill is an awesome place to bring the family. They have animals, nature trails, corn mazes in the fall, delicious ice cream, and of course, a beautiful backdrop for photographs. These kiddos were super sweet and oh-my-stars adorable, and this session became popular quickly on Facebook with future clients who said, "Can we do that kissing shot like the one you posted a few weeks ago?" Love, love, love family love and I think it absolutely shines through in these photos. Here's a quick sample of my favorites!
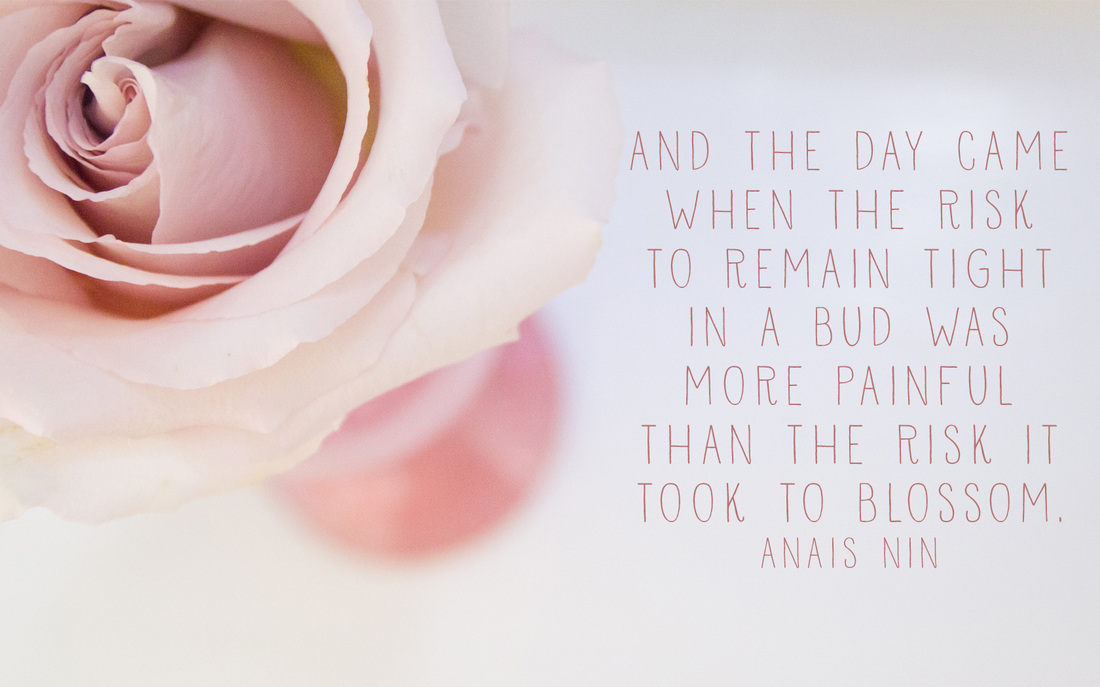
Do you need a little spring in your life? My talented florist friend, Marie, from Paisley Floral Designs in Manchester, New Hampshire hooked me up with these stunning pink roses, and I couldn't resist this very quiet photo shoot. This sentiment spoke to me this week, and I hope you enjoy it too! Feel free to download the image and use it on your own computer or iPhone, or print it out and hang it in your home or office.
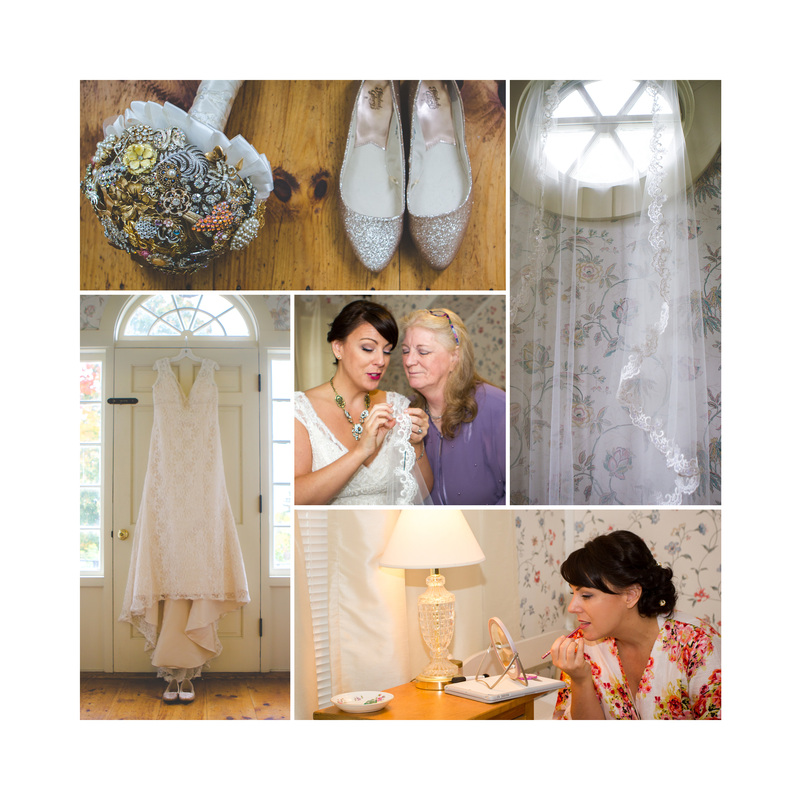
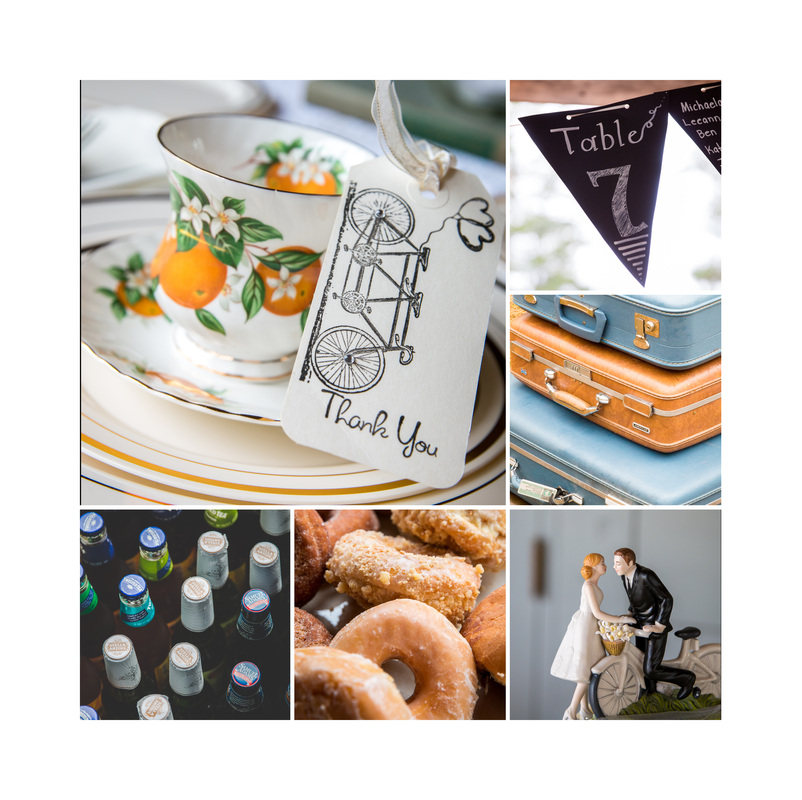
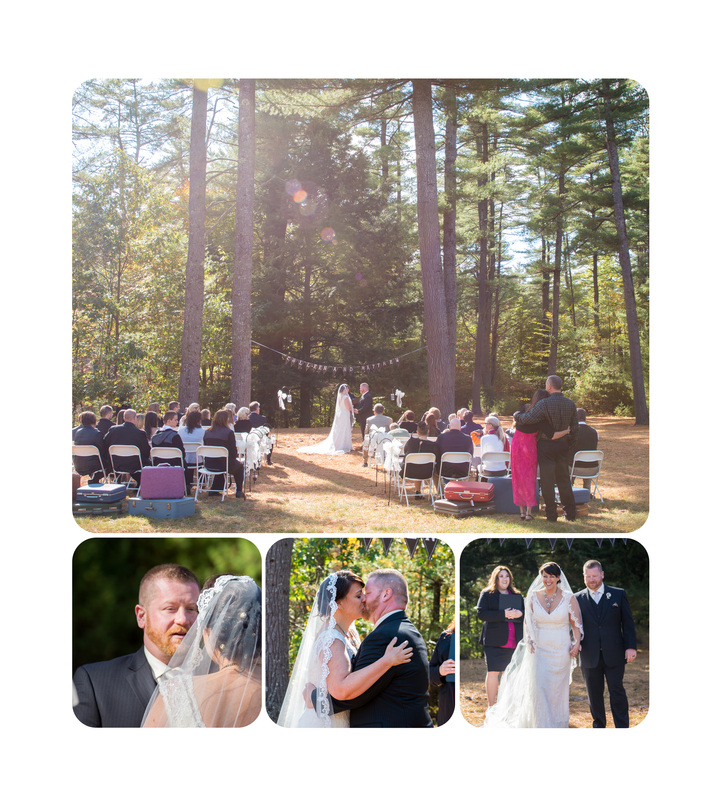
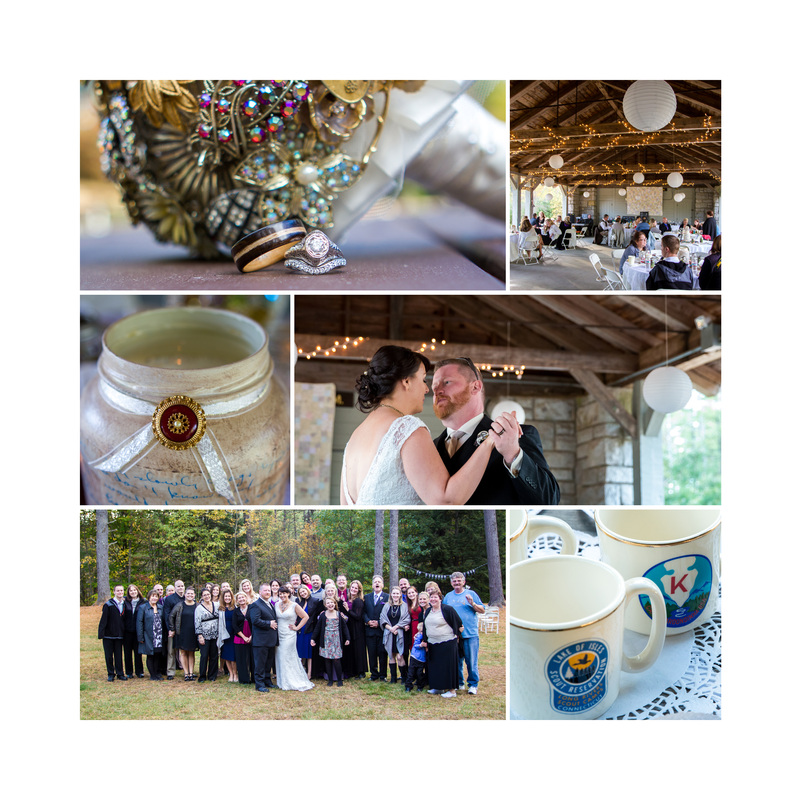
On a chilly day in October, Matthew and Colleen had very different mornings planned. Colleen had a very typical bridal morning scheduled: hair, makeup, the dress… you get the idea. Matt on the other hand, had a very detailed map and directions (prepared by Colleen, of course!) as to how to prepare their ceremony and reception site at Bear Brook State Park. I spent the morning photographing Colleen, while Elissa was busy catching the setup of the woodsy site in Allenstown, New Hampshire. When I arrived at the site to help Elissa get ready for the ceremony, I could not believe the transformation - what was once a public camping site had been transformed into a vintage, rustic wonderland: a true testament to Colleen's sense of style and creativity, and of course, Matt's hard work.
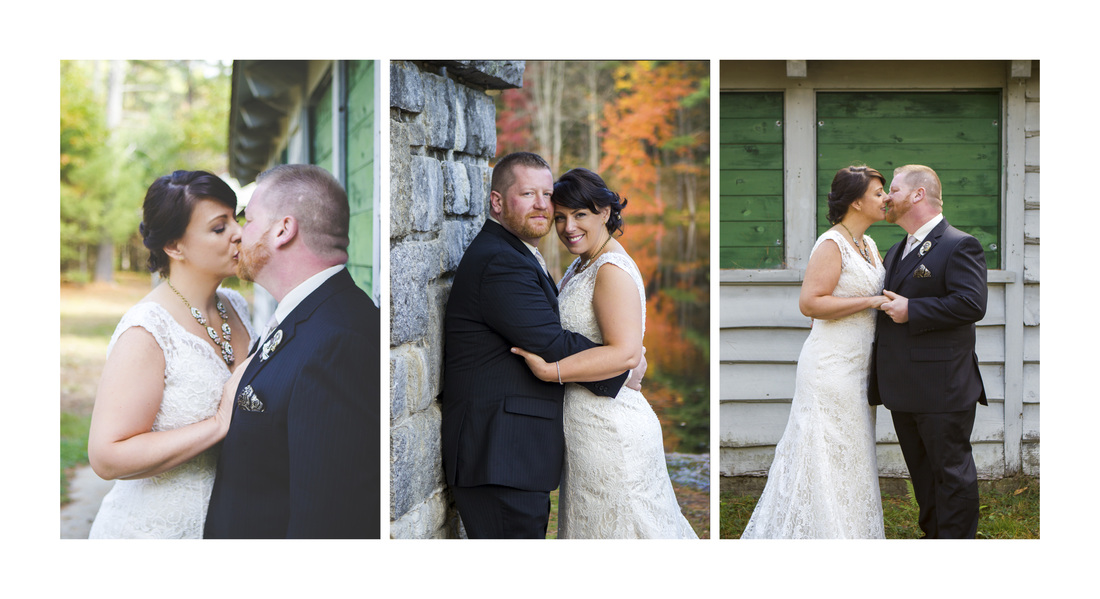
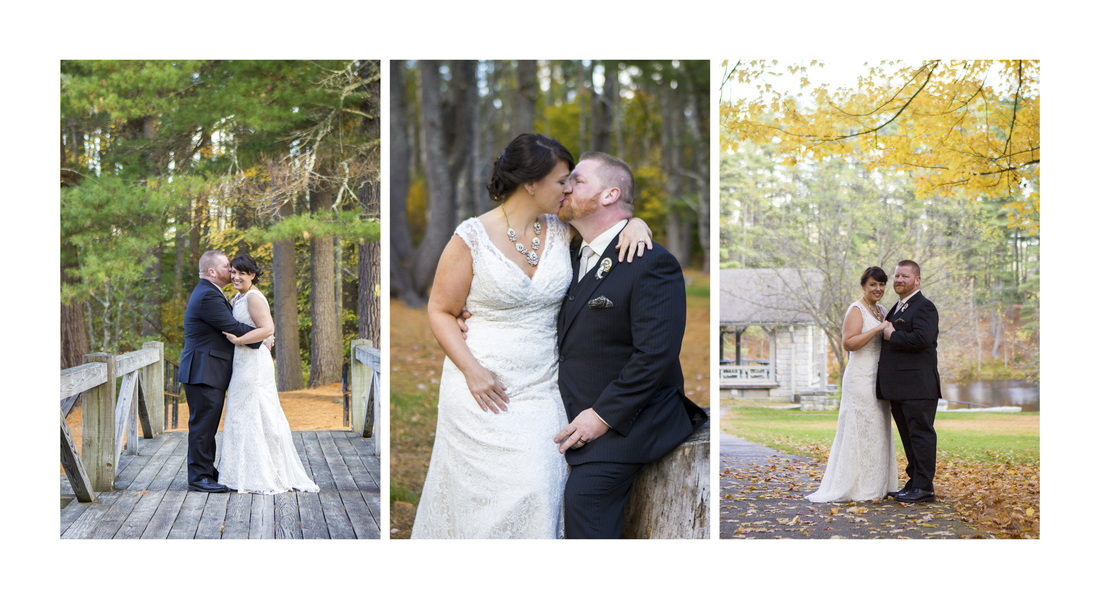
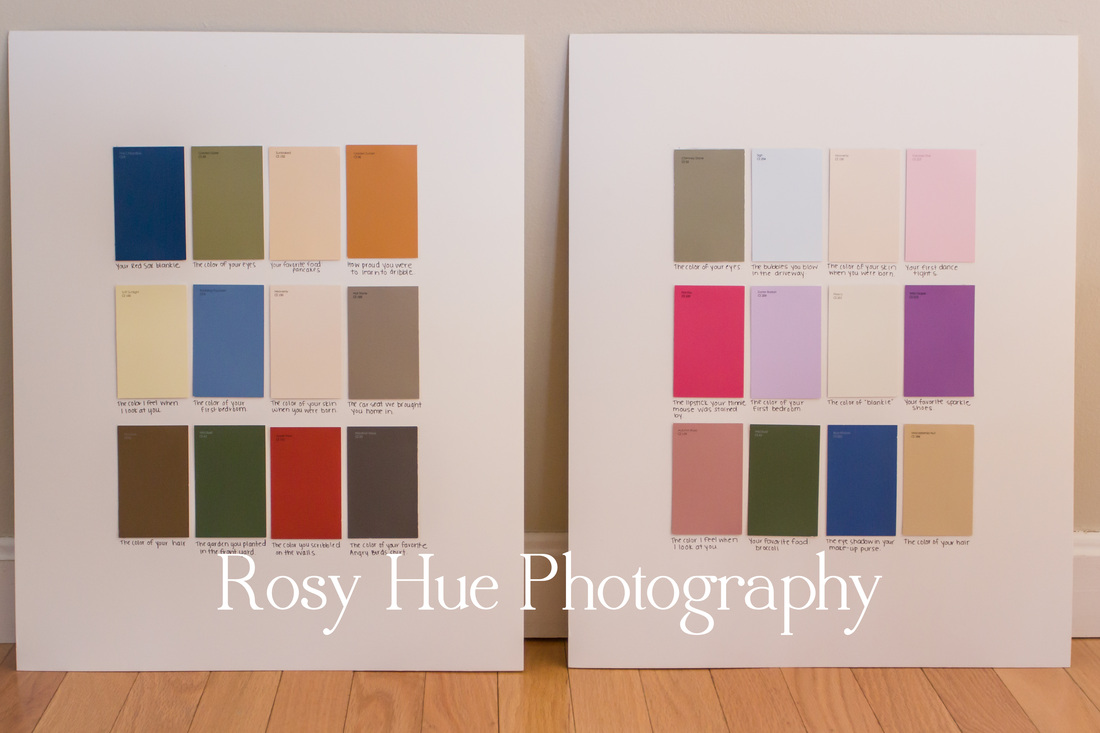
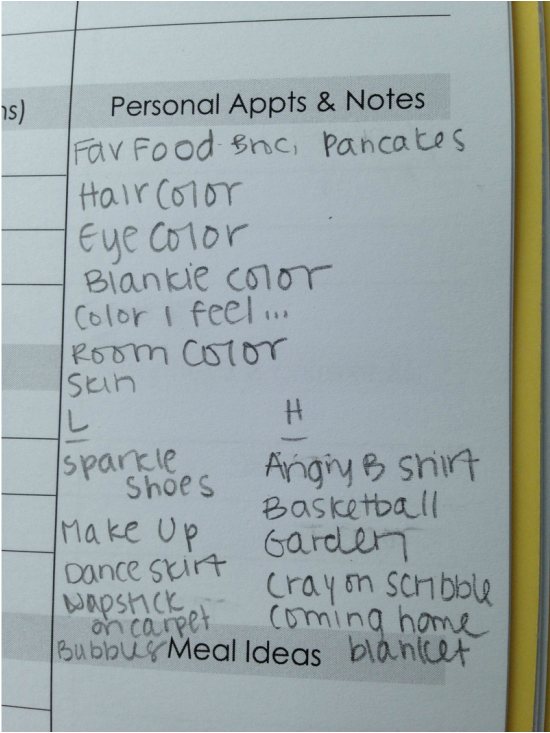
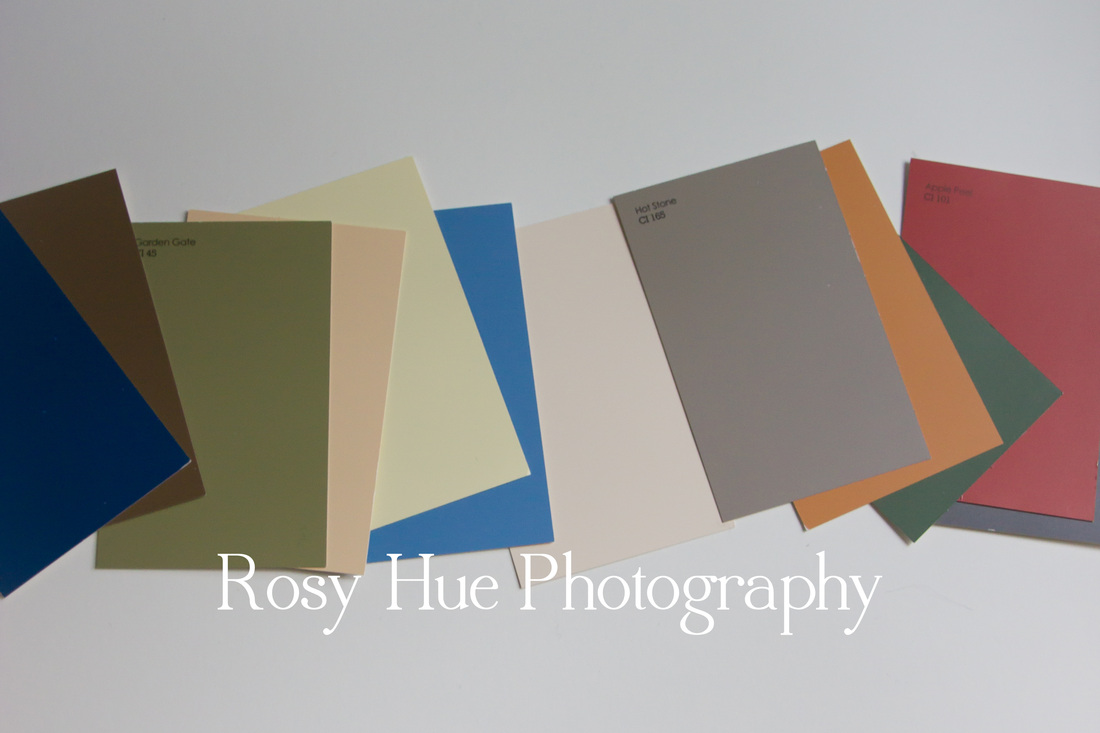
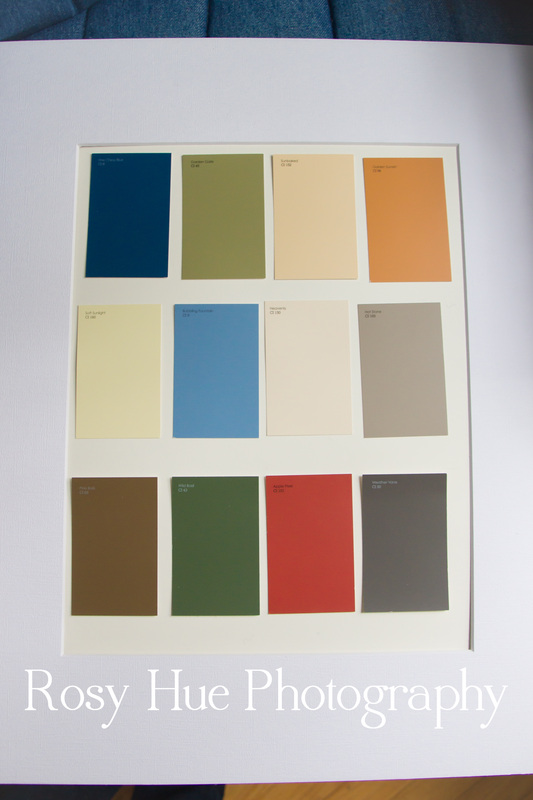
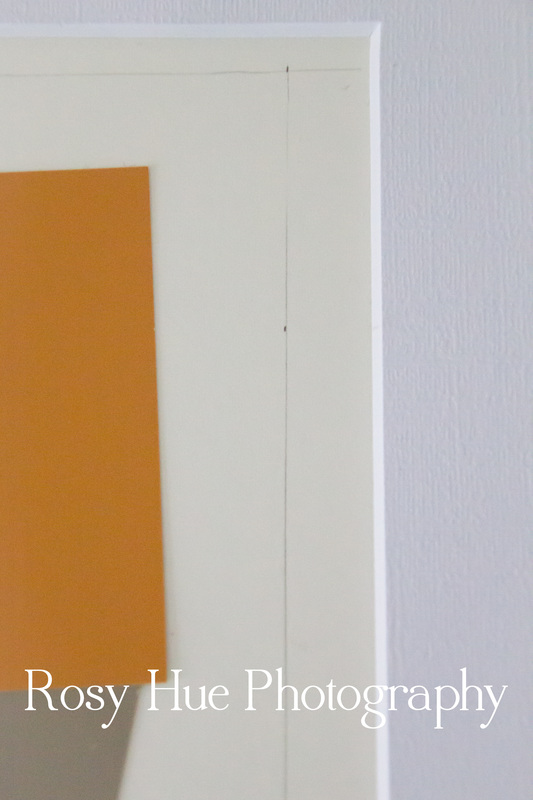
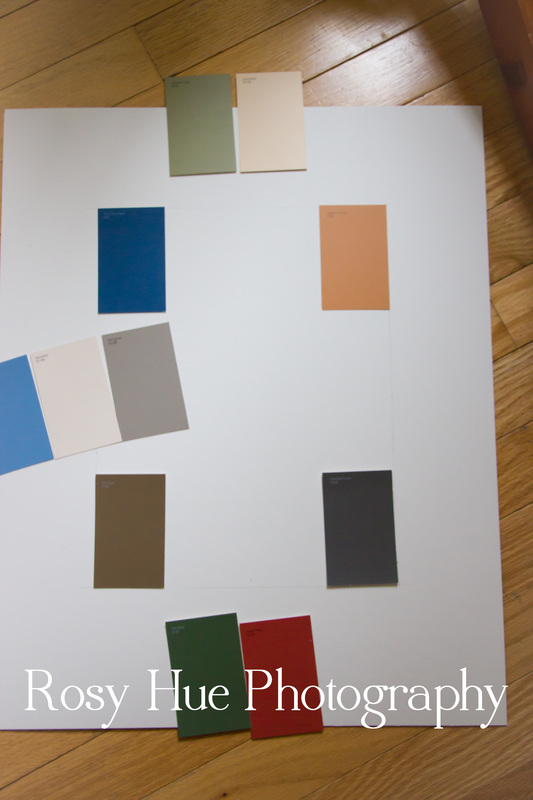
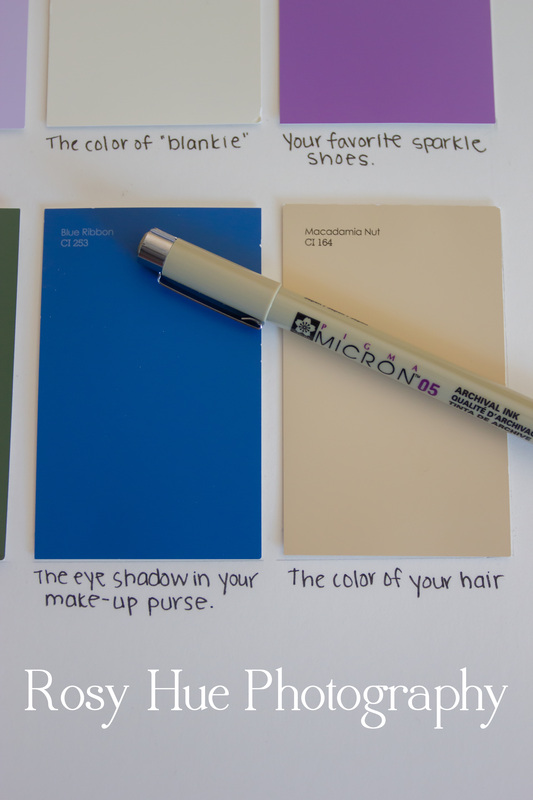
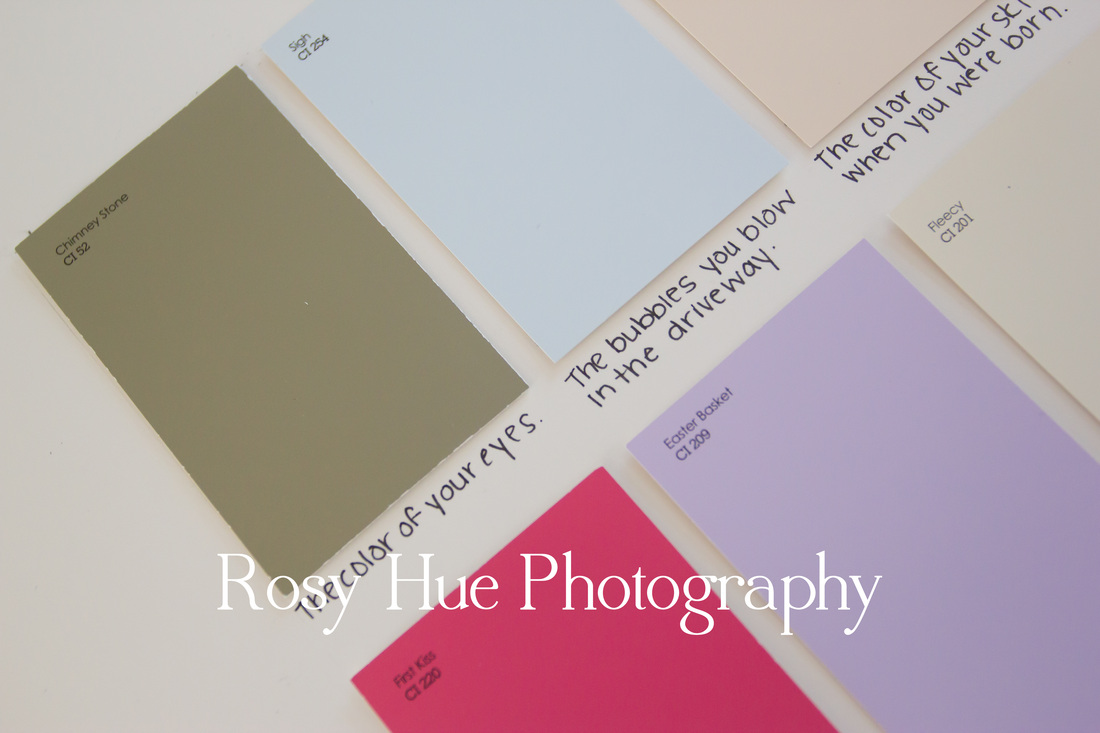
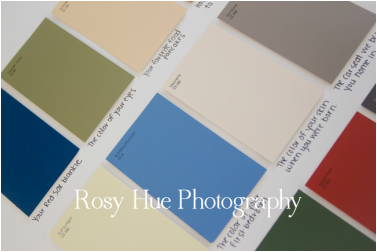
Every single detail of Colleen and Matt's wedding was meticulously planned and hand-designed by Colleen. The couple spent months collecting vintage China and broaches for Colleen's gorgeous (and heavy!) bouquet. Colleen created her own beautiful veil, which trailed behind her effortlessly as she walked down the pine-needle coated aisle. The guest list was small: a group of Matt and Colleen's closest friends and family. The feel: cozy. Guests waited for the bride and groom to arrive while cuddled around the expansive outdoor fireplace, sipping on coffee and laughing in tight circles of love and each greeted Colleen and Matthew after the ceremony with a warm embrace. The result? A stunning, intimate affair that was a photographer's dream. One of my favorite moments from the day was our quick jaunt down the road to capture some formal pictures of the couple. Matt and Colleen opted not to have a traditional bridal party, so Elissa and I had more time to get some lovey pictures of the newlyweds in the beautiful last days of brilliant fall color. I couldn't get over the natural love that these two so naturally exuded. Thank you, Mr. and Mrs. Anderson for including Rosy Hue Photography in your beautiful day. I've been in the very slow process of updating the kids' playroom and have been looking for some items to add to a future gallery wall of artwork and photographs. I saw a mini version of a similar project on pinterest, and loved the idea of creating something that was personal, quick and cheap for each of the kids. Below are the almost-finished products of the color stories I made for the kids (Hou's is on the left, Leah's is on the right). Ultimately these will be matted and framed and hung in the play room, but these could easily be hung as-is. I loved how these compilations just "felt" like each of the kids' personalities: Hou quiet and deep; Leah sweet and sensitive. Here are directions to make your own color story project! Materials: -Mat board, poster board or other thick, white card stock paper: I knew I wanted mine to be large, so I purchase these 16x20 sheets of mat board from Michaels for $4.99 each. -12 paint chips: This number could increase or decrease depending on the size of the art desired. You can also cut the paint chips to be smaller if you want to create a smaller finished product. -Pencil (optional) -Ruler (optional) -Black pen or marker for captions Directions: 1. Make a brainstorm of the 12(ish) categories you wish to include in your color story. I knew I was creating two of these, so I ended up coming up with 24 total. Think about the colors in the life of the person you are creating your art for. There were some mutual categories I wanted for both of the kids (the color of their eyes, the color of their favorite foods, etc), but then there were some that were unique to each child: Leah's favorite sparkly shoes, the color of Houston's first bedroom, etc. I snapped a picture of my list and brought it with me to the hardware store to look for paint. This was so helpful to keep me focused, and also sped up the process so I didn't feel like such a creep swiping paint samples. 2. Head to your favorite local hardware store to grab your paint samples. Like I said, I was going for 24. I had grand plans of traveling the city to various locations for fear of being "caught" but ended up at Lowe's where really… no one cares. It helped having my list because I could browse and grab quickly. I also liked the convenience having so many colors to choose from. What I feared being stressful was actually one of my favorite parts of the project. I couldn't help smiling to myself remembering all of these vivid moments from my kids' lives. 3. When you get home, spread the colors out and arrange them in different "spreads" until you find the story that looks the best. If you have a good idea of which color goes with which category (or the colors are different enough), you won't have to worry about remembering their caption later. However, if you have some colors that are close, you may want to label them on your organizer before you start mixing them up too much! Once you've found your final arrangement, plug in that glue gun! 4. Optional: while your glue gun is warming up, you may decide that you want to align your color samples a bit more accurately. I made some quick guidelines with my ruler, but wasn't going for perfection here (I wanted the kids to know that I made these after all). But since I was making two of them to hang somewhat close to each other, I didn't want them to be completely free-handed (read: "utterly crooked"). 5. Get to gluing! I started with the four corners and sort of eye-balled it from there. 6. Once your paint samples are glued on, it's time to get writing. I was a little nervous about this step, but ended up just diving in. Heck, I was almost done and I couldn't wait to see the end result. I used a fine tip pen (size .45mm line) for writing. One more tip: don't drink "dark magic" coffee before attempting.
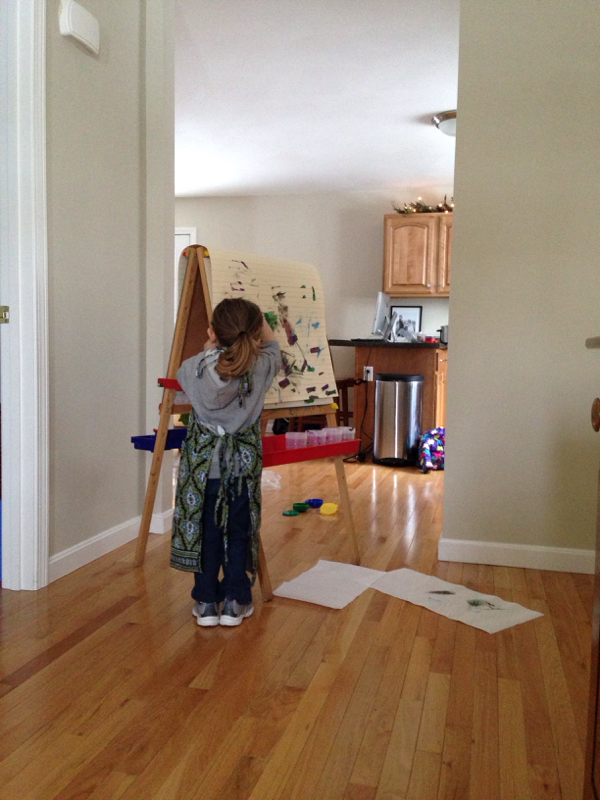
One of the perks of watching my babies grow into big kids is watching their personalities develop. It's fascinating to see little parts of Justin and I shine through in different ways, but even more fascinating to see the special, unique qualities that are completely their own. We've tried out a couple of different group activities in Hou's short sports career, but basketball has seemed to be the one he has enjoyed the most. Love the smile and swag back to line after making this basket… (special thanks to my sister for capturing this gem!) I loved shooting this beautiful new family earlier this month. There is nothing more raw, more innocent, and more precious than photographing a newborn baby. Having two older "babies" now, I love any excuse for mini snuggles. And, fun fact, Baby Luke has the same birthday as Leah! His mama and I were able to commiserate on the joys of spending Christmas in a hospital. Luke was such a content, sweet little love - despite the fact that he decided to nap as I was packing up my equipment for the day. It's okay… I love the bright-eyed wonder of an alert and curious little person.
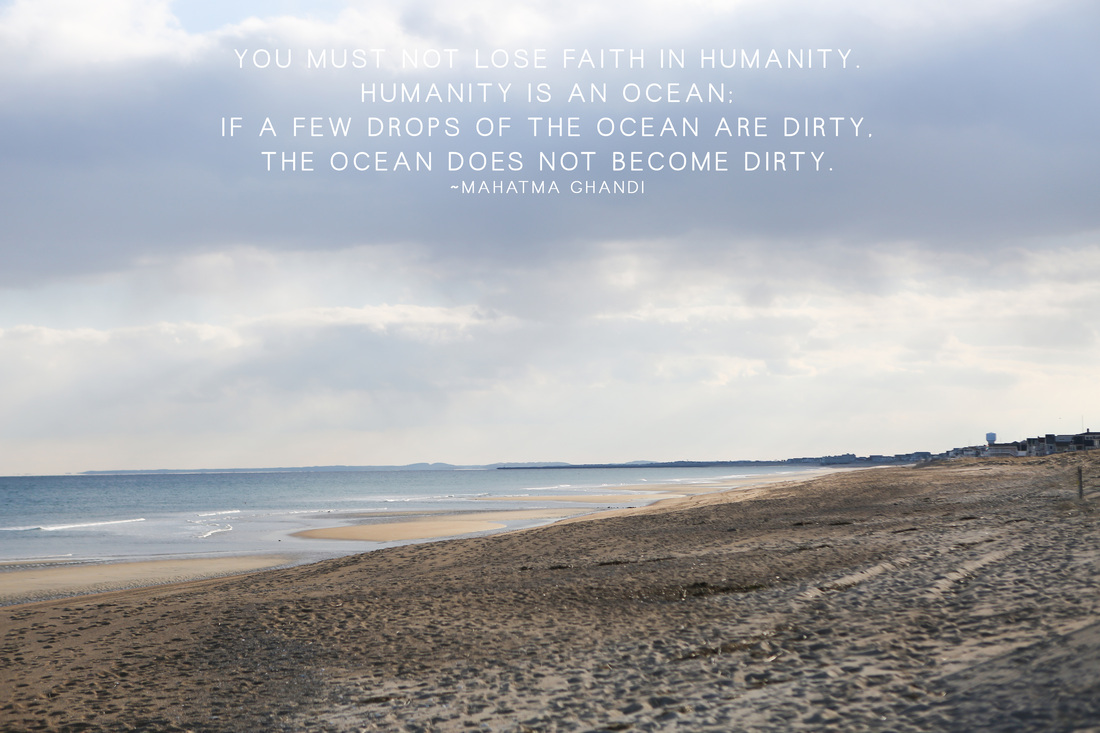
There are so many "stressors" in our fast-paced, media-rich lives. Recent events have me wanting to hide under my king-sized duvet with J, Hou and Lee in a permanent blanket fort. But the truth is, as much fear as I feel for raising and passing along two sweet little babies into the world, I want fearlessness for them. This is my mantra for sanity - and the hope I have to pass into the hearts of my children. Seek the good. Seek the peace. Download your own "humanity" photo (taken at Seabrook Beach in New Hampshire!) by clicking below. Save it to your desktop or print it and hang it next to your desk at work (or under your duvet fort) for that little moment of peace you need today.
|
AuthorDanielle Smith Archives
July 2017
Categories
All
The most important thing is to enjoy your life - to be happy - it's all that matters. ~Audrey Hepburn |
||||||||||||
 RSS Feed
